Tiger Face Paint
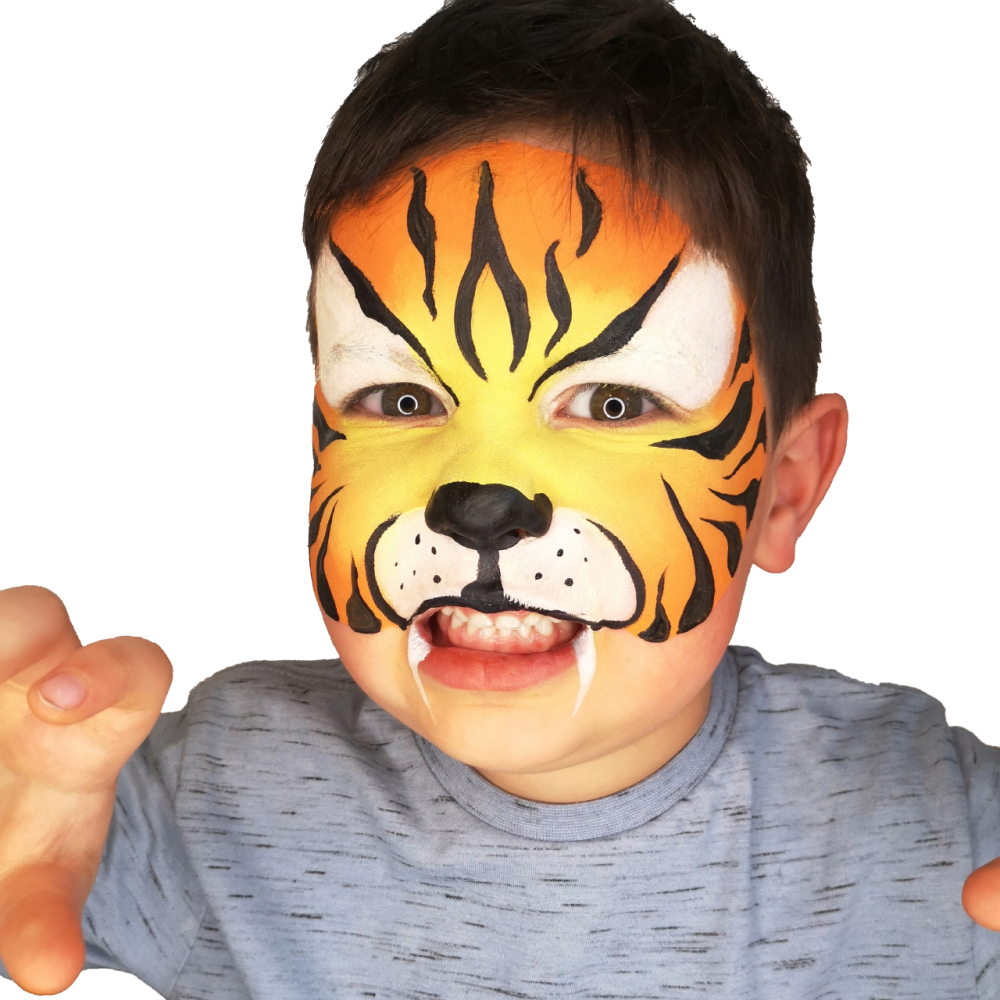
Transform into the king of the jungle with these simple 3-step tiger face paint guides!
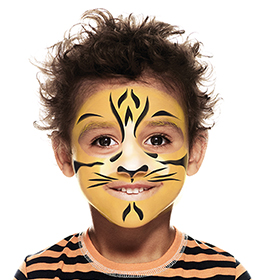 Easy Tiger
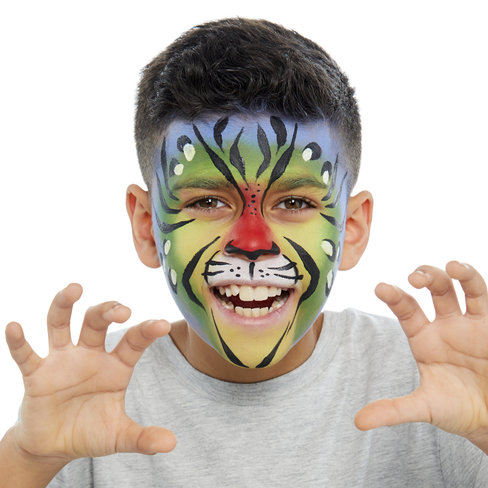 Rainbow Tiger
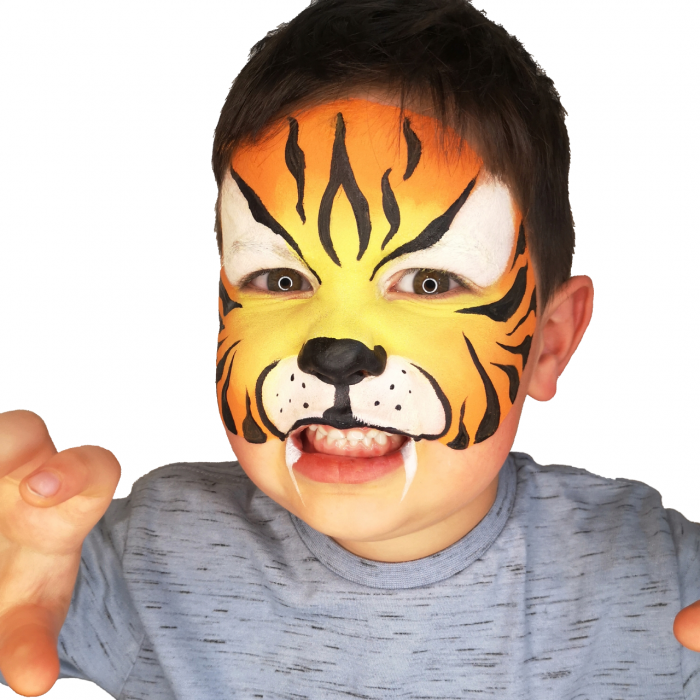 Jungle Tiger
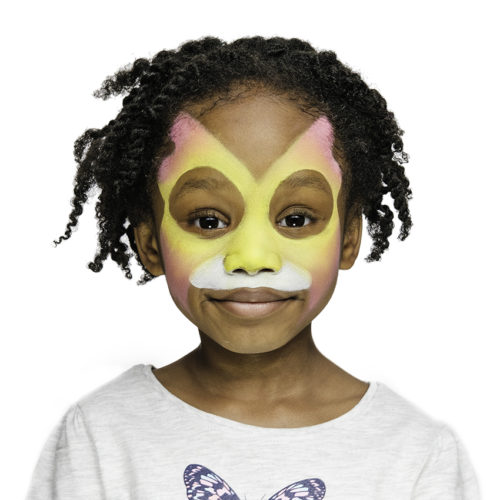
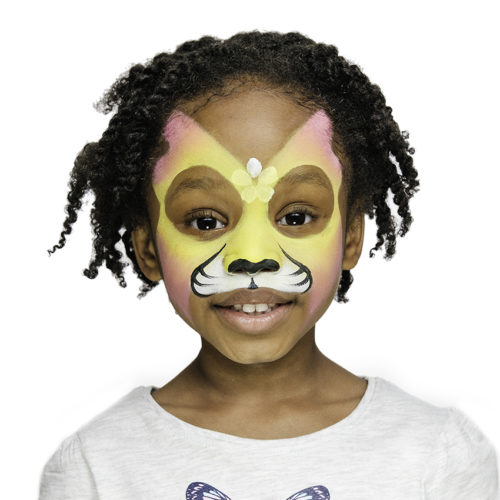
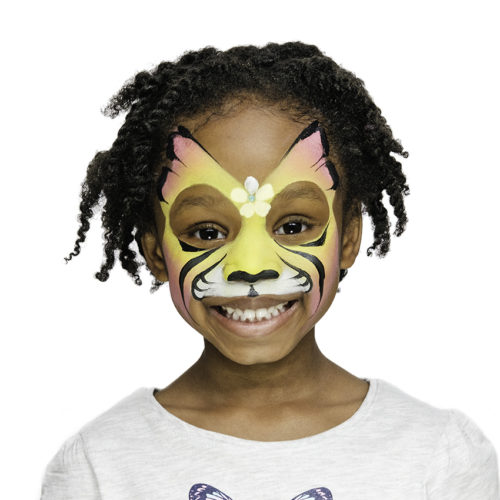
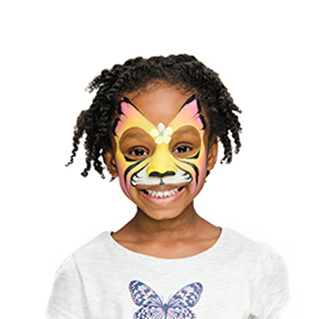 Tiger Fairy
TIGER
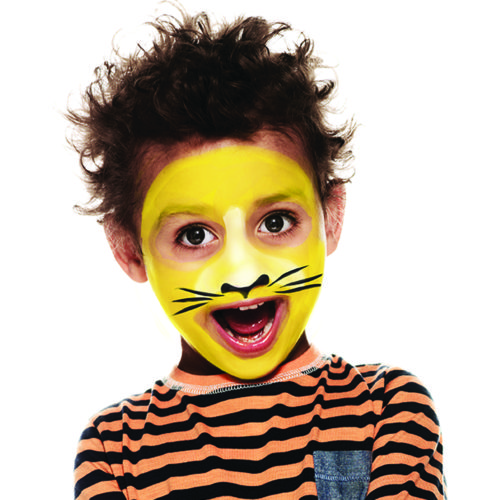
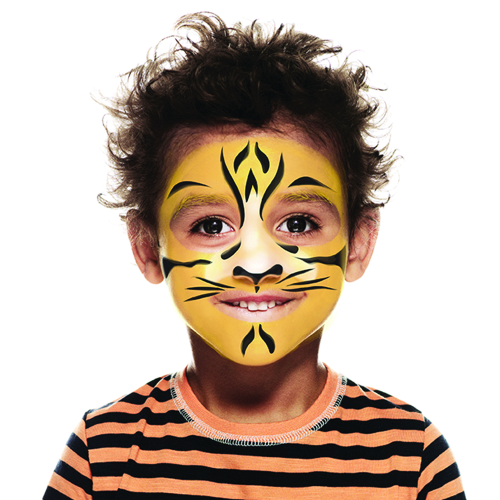
Earn your stripes and transform the house into the savannah with this creative and easy tiger design that’ll get them growling!
VIDEO GUIDE
3 STEP GUIDE
TIGER
Earn your stripes and transform the house into the savannah with this creative and easy tiger design that’ll get them growling!
What you will need
3 STEP GUIDE
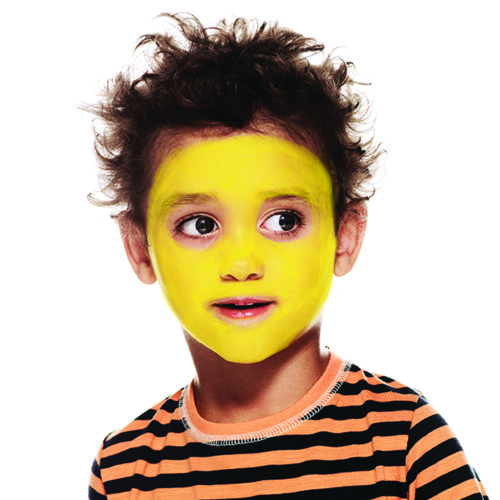
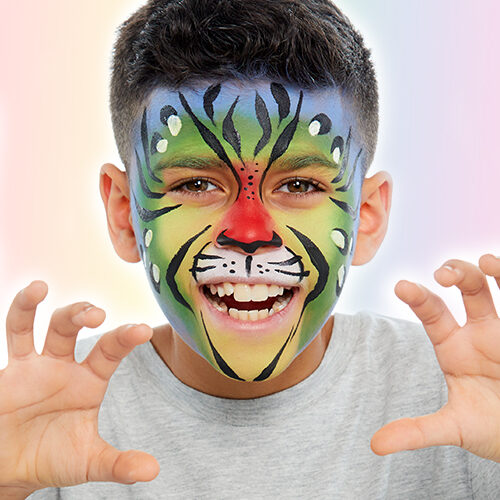
RAINBOW TIGER
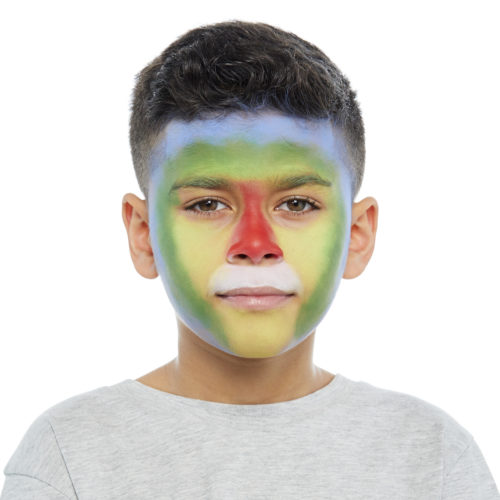
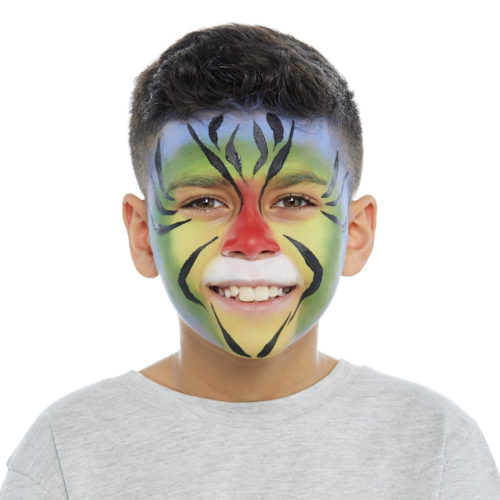
Dance and roar to the beat of the jungle drums. This super-easy Rainbow Tiger three step tutorial will create a king of the jungle at any party.
What you will need
3 STEP GUIDE
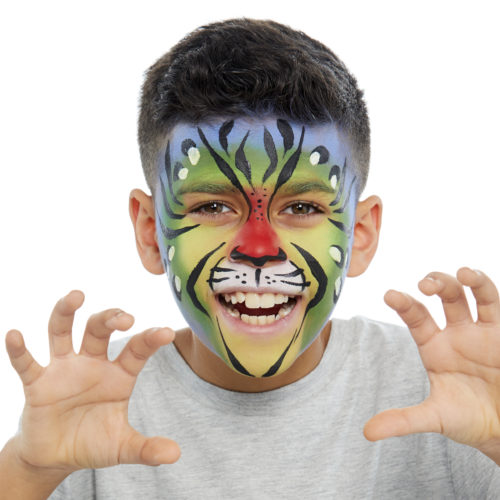
EASY TIGER FACE PAINT
Start with our quick and easy beginners tiger face paint guide which is great for fidgety kids eager to play then move on to our intermediate and advanced looks with our easy to follow three step guides from @louisewarrartistry.
3 STEP GUIDE
EASY TIGER FACE PAINT
Start with our quick and easy beginners tiger face paint guide which is great for fidgety kids eager to play then move on to our intermediate and advanced looks with our easy to follow three step guides from @louisewarrartistry.
What you will need

Advanced tiger face Paint guide
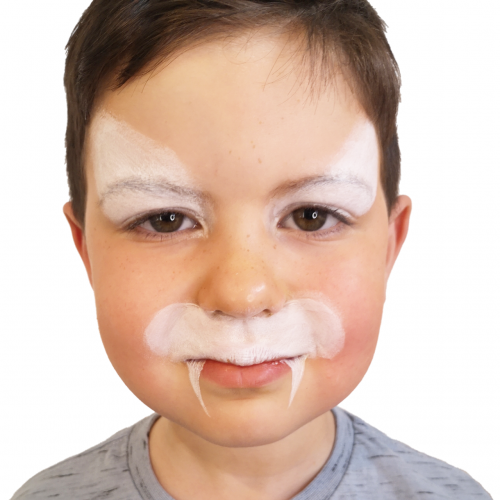
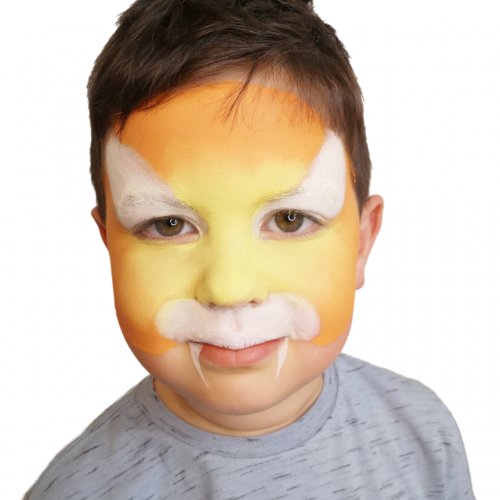
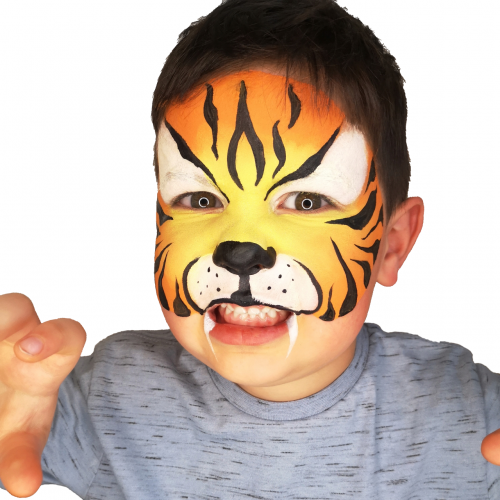
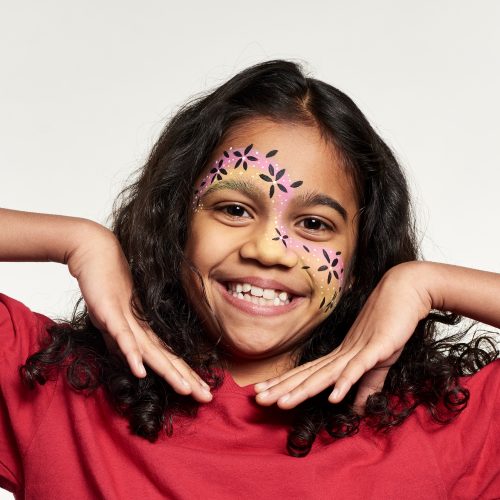
TIGER FAIRY
Deep in the jungle, there’s a very special cat. This is no ordinary kitty. It’s the tiger fairy! Add a magical twist to everyone’s favourite feline with this enchanting design.
3 STEP GUIDE
TIGER FAIRY
Deep in the jungle, there’s a very special cat. This is no ordinary kitty. It’s the tiger fairy! Add a magical twist to everyone’s favourite feline with this enchanting design.
3 STEP GUIDE
